← Back To Nivium

How It Works

From field capture to finished profile
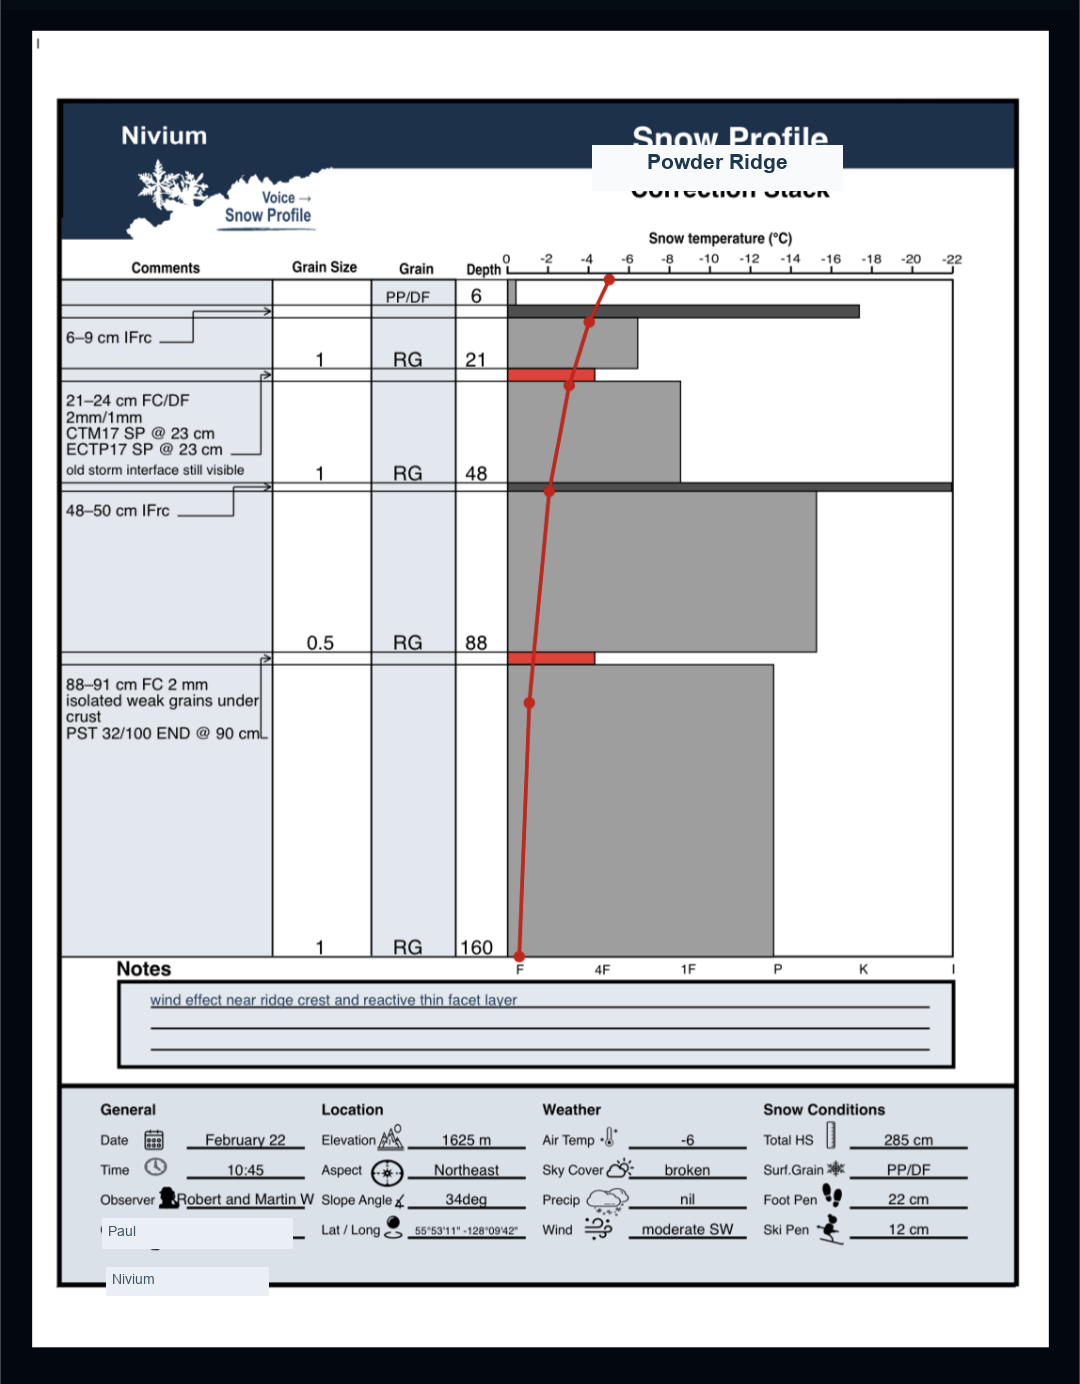
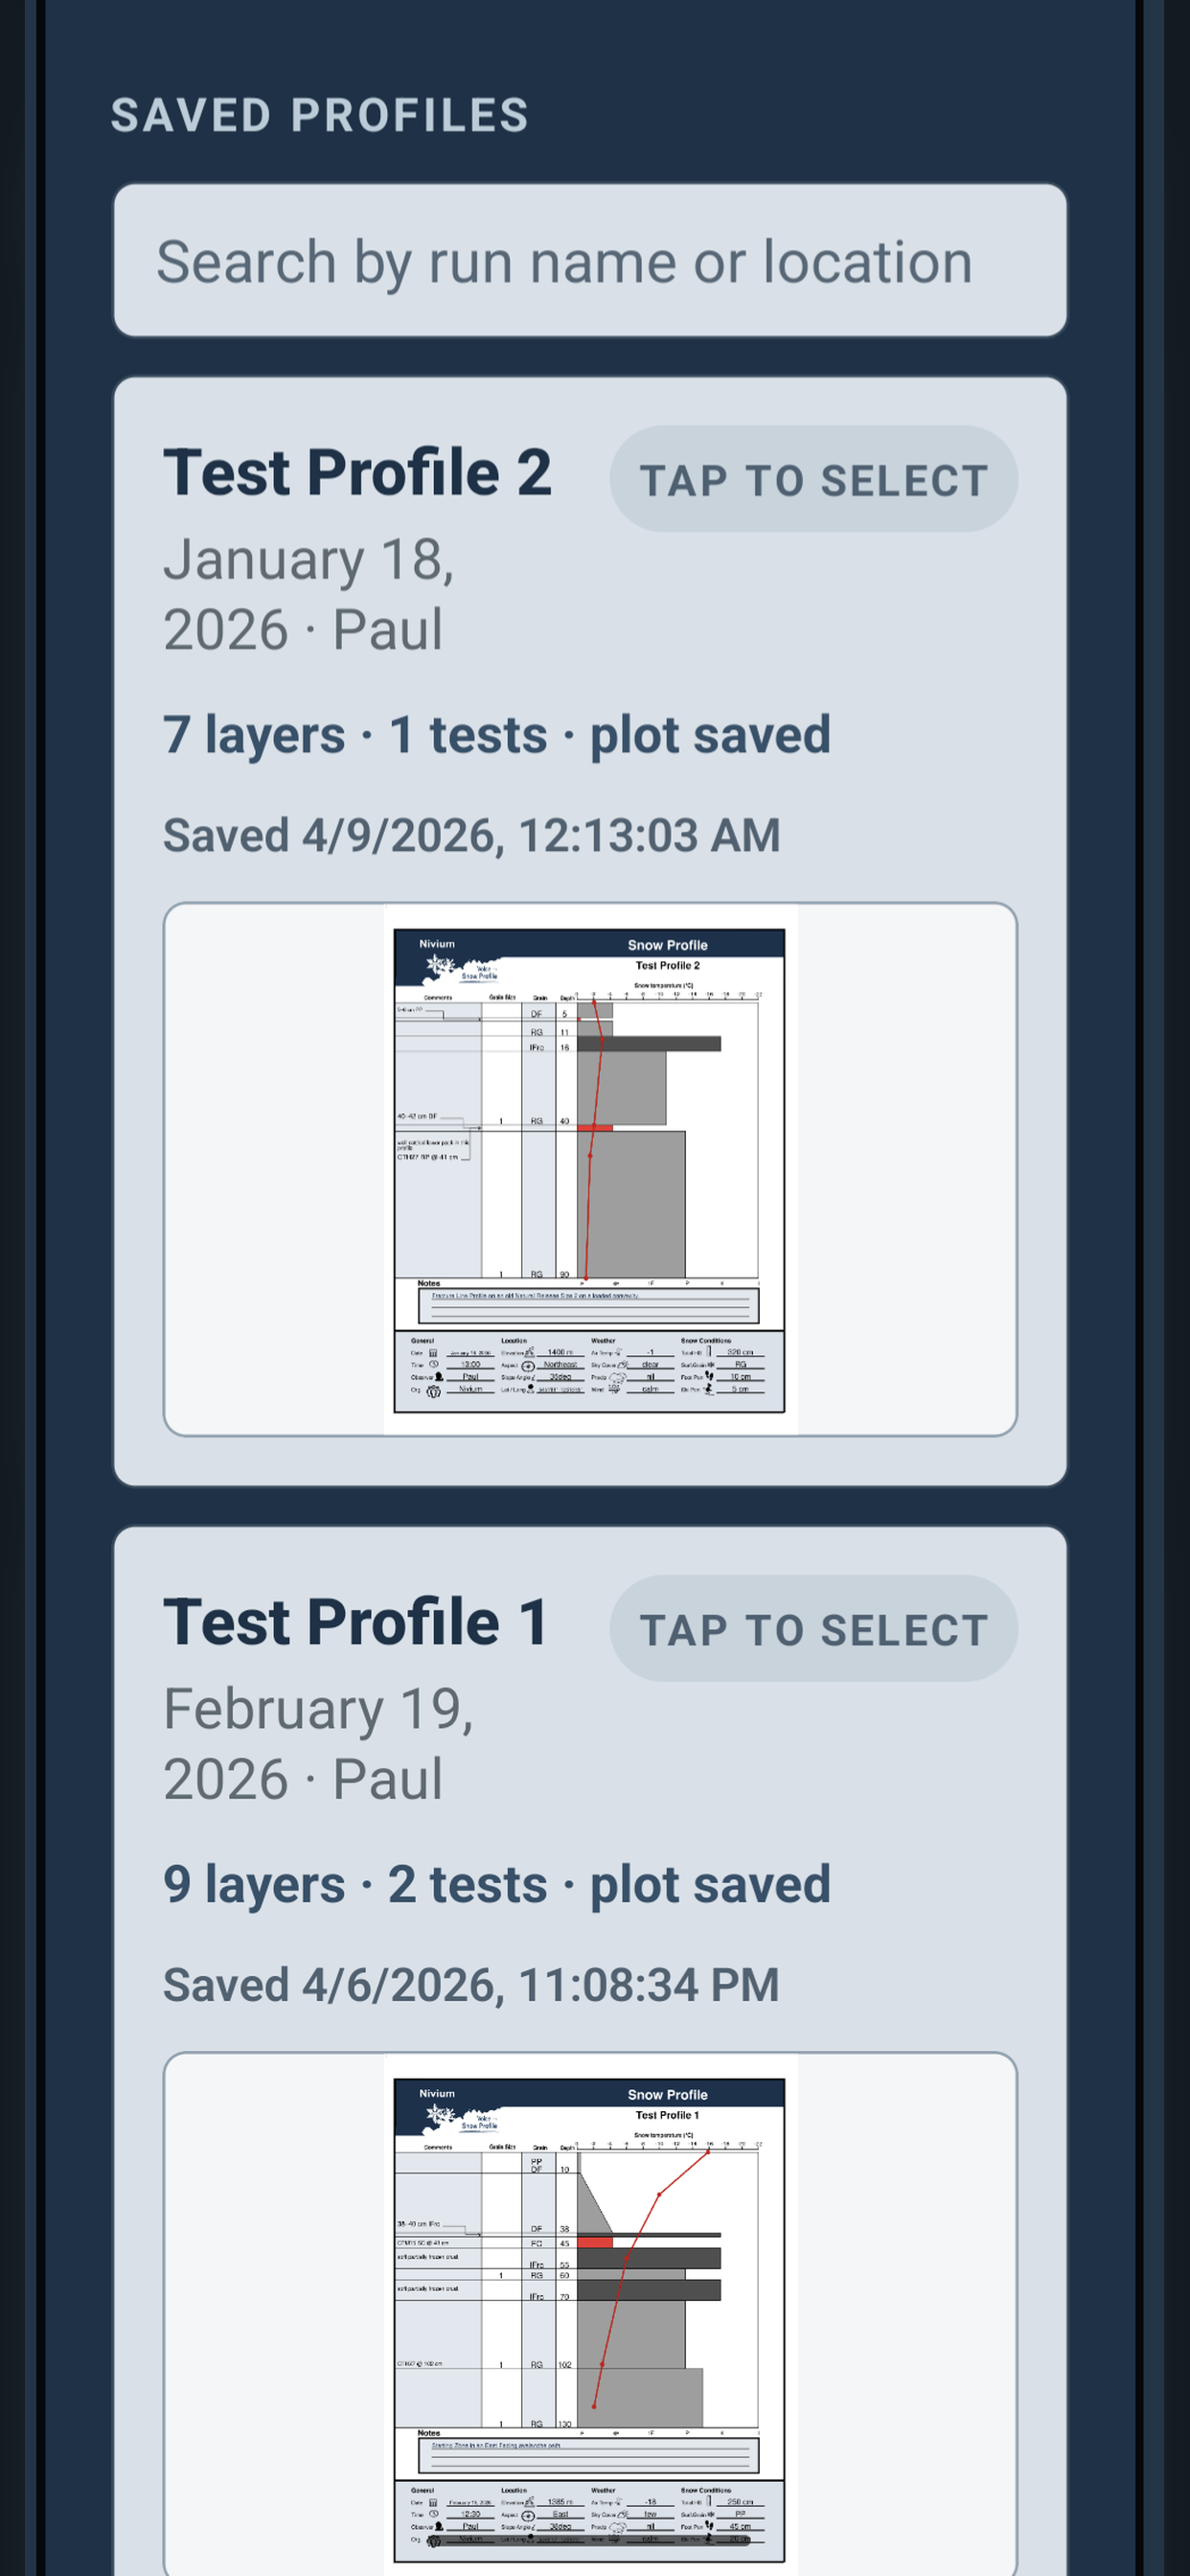
Nivium gives you two input paths in the field: Voice Notes for spoken capture and Manual Data Entry for offline step-by-step entry. Both lead to the same clean plotted profile you can review, archive, share, and print.

Step 1

Open Nivium Home

Choose your input path based on your field conditions.

  • Voice Notes: Speak snowpack observations into your phone, then render or refine the profile once you are back on reception or Wi-Fi.
  • Manual Data Entry: Render a profile offline by entering each section step-by-step.
Nivium home screen showing Voice Notes and Manual Data Entry options.
Step 2

Capture Voice Notes

  • Voice Notes: Speak observations directly into the app while you are in the field.
  • Push "Record Audio" and start speaking your observations by following the steps in the field card below.
  • You can pause and resume recording at any time by pressing "Pause Recording" or "Resume Recording".
  • When you are finished, press "Stop Recording" and Nivium will format your notes into an engine-readable format.
  • For best results, read through the field card (just below the entry-box) aloud and fill in blanks as you work top-to-bottom. You must enter the bold parts under Snowpack Layers in the field card to be able to create a profile. All other entries are recommended but optional.
  • Nivium keeps those notes intact so you can process, render, and refine your profile once you have reception or Wi-Fi.
Nivium Voice Notes capture screen.
Step 3

Manually build the profile

  • Manual Data Entry can be completed without reception.
  • Open each card and enter the data manually.
  • Work through Metadata, Snowpack Layers, Temperature Profile, Stability Tests and Notes.
  • You must select Top Depth, Bottom Depth, and one Hardness under Snowpack Layers. All other fields are recommended but optional.
  • Load Sample shows an example of what a completed profile can look like.
Nivium Manual Data Entry screen.
Step 4

Review the plotted output

  • After clicking Create Profile, the app will render your profile.
  • Open the result to inspect, share, and print.
  • Review the finished output, check the visual layer and test context before sharing or saving.
Rendered Nivium plotted profile output.
Step 5

Archive, share, and print

  • In Archive, you can search any profile you created.
  • After selecting a profile, you can edit it if needed.
  • You can then preview, share, and print it directly from your phone.
Nivium Archive screen with saved profiles and actions.

Download

Get Nivium